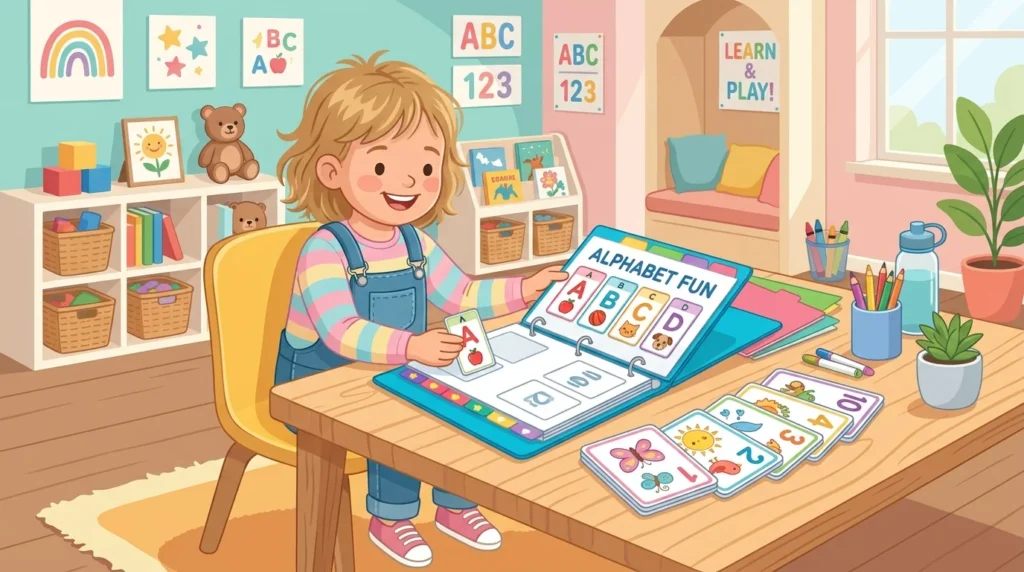
If you have ever watched an enthusiastic toddler gleefully tear a freshly printed paper activity sheet in half within thirty seconds, you understand why lamination is essential in early childhood education. Creating durable, wipe-clean educational printables transforms fragile paper crafts into heavy-duty tactile tools that survive milk spills, aggressive marker scribbles, and thousands of velcro pulls. In my printables workshop, laminating preschool activity binders is an exact craft where simple technical choices make the difference between a ragged binder and an heirloom learning keepsake.
Assembling these interactive books requires understanding pouch thicknesses, thermal temperature curves, edge trimming margins, and adhesive mechanics. When done correctly, your finished binder feels as smooth and professional as a commercial toy store product while costing only a fraction of the price to manufacture at home.
Key Takeaways
Crucial production rules for building indestructible preschool binders:
- Choose 5-mil thermal laminating pouches for movable pieces and base pages to prevent folding and creasing.
- Always leave a 2-millimeter sealed plastic margin around cutouts so water and moisture cannot penetrate the paper core.
- Use a dedicated corner-rounder punch tool to eliminate sharp 90-degree plastic points that can scratch little hands.
- Consistently stick rough hook dots on movable cutouts and soft loop dots on binder base mats.
To bypass endless DIY trial-and-error and start selling beautifully packaged preschool activity binders today, Ready-made Kids Digital Products on plrbizhub.com provides tested commercial templates designed for seamless home printing and lamination.
Essential Equipment For High-Volume Assembly
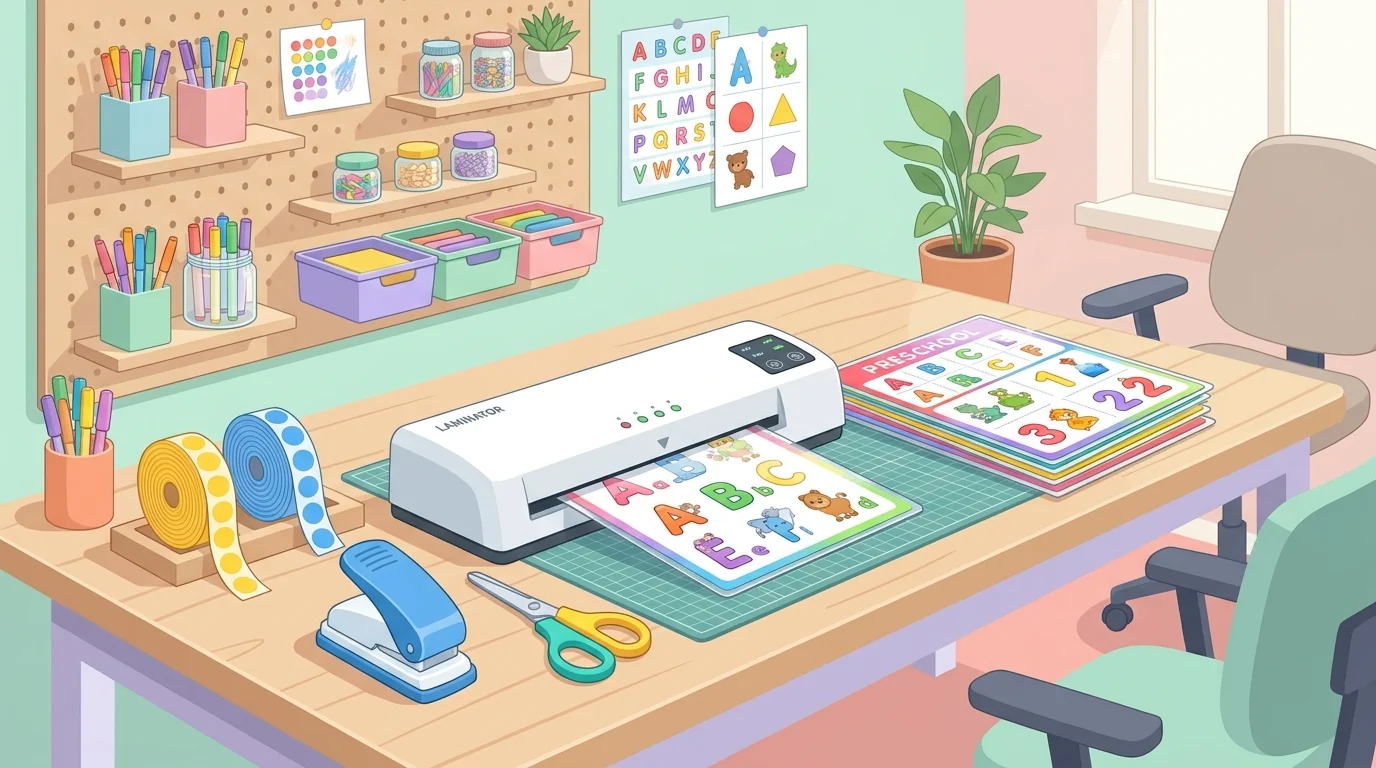
You do not need industrial factory machinery to produce pristine laminated learning binders, but investing in a few dependable desktop tools will save you dozens of wasted hours and hundreds of dollars in ruined supplies. Here is the toolkit I rely on every single week:
- Dual-Heat Thermal Laminator: Look for a machine that offers selectable 3-mil and 5-mil settings with multiple silicone heating rollers. Four-roller systems apply more uniform pressure than basic two-roller models, preventing annoying air bubbles and cloudy streaks.
- High-Clarity 5-Mil Thermal Pouches: While 3-mil pouches are fine for classroom wall posters, they are far too floppy for interactive cutouts. A 5-mil pouch provides the rigid, board-game feel required for toddlers pulling on velcro dots repeatedly.
- Heavy Cardstock Paper (65 lb to 80 lb): Printing on heavy cardstock ensures vibrant ink saturation and creates a stiff composite core once heat-sealed between plastic layers.
- Rotary Paper Trimmer: A sharp rotary trimmer cuts straight, crisp lines far faster and cleaner than standard household scissors.
- Radius Corner Rounder Punch: A compact 4mm or 5mm corner punch rounds off jagged plastic edges in seconds, ensuring complete safety for toddler play.
- Self-Adhesive Hook-and-Loop Coins: Half-inch (15mm) clear hook coins paired with white loop coins offer the ideal balance of grip strength and effortless detachment.
Thermal Settings And The Double-Pass Lamination Secret
According to industrial thermal bonding science detailed on lamination manufacturing documentation, achieving a true polymer seal requires sufficient dwell time where heat activates the polyethylene adhesive layer. If your laminator runs too fast or too cold, the plastic will appear slightly milky or peel apart at the edges over time.
Always allow your laminating machine to preheat for at least ten minutes, even if the “ready” indicator light illuminates earlier. The extra warmup ensures internal rollers reach a uniform operating temperature. For thick 5-mil pouches containing heavy cardstock, I recommend running each sheet through the laminator a second time. This double-pass technique guarantees crystal clarity and seals the adhesive permanently against moisture.
The Two-Stage Cutting Method For Waterproof Cutouts
One of the most common rookie mistakes in creating busy books is cutting out paper shapes, laminating the whole sheet, and then cutting flush against the paper edge. When you slice directly through the paper, you break the plastic seal, exposing the raw paper fibers to moisture, dirt, and sticky toddler fingers.
Stage one: rough paper cutout
First, print your manipulative elements onto cardstock. Use your trimmer or scissors to cut each piece roughly, leaving about an eighth of an inch of breathing room around each image. Place these rough-cut pieces inside your thermal pouch, ensuring at least a half-inch of space between adjacent items so plastic can weld securely around every single perimeter.
Stage two: precision sealed trimming
Once the laminated sheet cools flat, take your scissors and cut out each shape, leaving a clear two-millimeter border of transparent laminated plastic around the outside edge. This transparent halo keeps the cardstock core completely sealed inside an airtight, waterproof plastic envelope that can withstand baby wipes and sanitizing sprays.
To see how this construction method fits into broader learning collections, explore our complete guide to preschool learning binders and step-by-step tutorial on toddler quiet time busy books.
Systematic Hook-And-Loop Fastener Application
Nothing ruins a learning binder faster than mismatched velcro dots where pieces refuse to stick together. Adopting an unbreakable rule of thumb ensures every single piece across all your binders remains fully interchangeable:
- Clear Hook (Rough) on Loose Pieces: Always attach the rough, scratchy hook side to the back of the movable cutouts. Choosing clear translucent dots ensures that if pieces flip over, no ugly white circle obstructs the front illustration.
- White Loop (Soft) on Base Mats: Always place the soft, fuzzy loop dot on the main background binder page. If a child rests their hand or forearm across the binder mat, the soft dots feel pleasant against skin rather than scratchy.
- The Pairing Trick: To align dots perfectly without tedious measuring, place the loop dot on the page, snap the hook dot directly onto it with the adhesive facing up, and then firmly press the cutout piece down onto the adhesive. Both dots will align in perfect millimeter precision.
If you prefer ready-made digital files with pre-measured dot positioning guides that save hours of trial and error, the complete kids digital products bundle includes full layout templates optimized for standard hole punches and binder hardware.
Binding Options: Rings Versus Coil Versus Three-Ring Binders
How you hold your laminated pages together affects portability, storage, and ease of use. Depending on your target audience, consider these three popular binding options:
- Metal Binder Rings (Best for modular flexibility): Punching two or three holes and linking pages with one-inch metal rings allows parents to add, remove, or reorder pages in seconds. It also lets binders fold completely back-to-back for small lap tables.
- Plastic Spiral Coil (Best for durability and commercial sales): Using a desktop spiral punch to bind pages with durable plastic coils creates a sleek, lay-flat notebook that looks premium and cannot be disassembled by curious fingers.
- Standard 1-Inch D-Ring Binders (Best for classroom storage): Slipping full-page activity mats into binders with clear front covers lets you build extensive modular subject volumes that store neatly on bookshelves.
For makers selling assembled physical products on independent storefronts or craft markets, detailing these hardware specifications in your product listings builds trust and justifies premium pricing. You can discover more digital product scaling strategies at plrbizhub.com and in our guide on how to create toddler quiet time busy books.
Frequently Asked Questions
Why do my laminated pages curl up at the edges after cooling?
Curling usually occurs when the heat setting is too high for the pouch thickness, or when pages cool unevenly on a cold desktop. To prevent curling, place freshly laminated hot sheets under a heavy flat book for thirty seconds immediately after exiting the machine.
What is the best way to clean and sanitize laminated activity sheets?
You can wipe sealed laminated sheets with alcohol-free disinfectant wipes, damp microfiber cloths, or mild soapy water. For stubborn dry-erase marker stains, a drop of rubbing alcohol or dry-erase board cleaner restores sparkling clarity instantly.
Should I use 3-mil or 5-mil pouches for preschool learning binders?
Always use 5-mil pouches for interactive binders. Three-mil pouches are too flexible, allowing toddlers to easily bend and crease the paper inside, whereas 5-mil pouches provide the rigid durability needed for thousands of velcro attachments.
Can I sell pre-assembled laminated binders created from digital PLR printables?
Yes. Commercial use PLR licenses allow you to print, laminate, assemble, and sell finished physical binders on your website, Shopify, or local markets, opening lucrative physical product revenue streams alongside digital downloads.
Mastering the craft of lamination turns simple digital downloads into robust educational tools that inspire hours of tactile learning. With thoughtful assembly and durable materials, you create cherished resources that help little learners build confidence with every play session.